Deck Squares Installation
INSTALLING OUR DECK SQUARES IS AS EASY AS: 1,2,3!
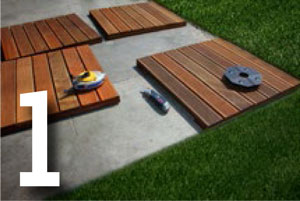 Make sure the surface being covered is relatively flat and free of anything that may get in the way of installation such as sticks, rocks or furniture. Then choose one corner of the area to begin working in. Optionally, you may snap a chalk line to have a straight line to follow during installation.
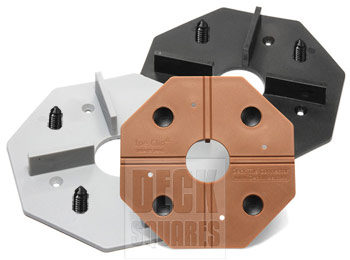
 Our wood-backed Deck Squares are milled with four predrilled holes located in each corner. The Deck Square Connector fits each of these holes with four specially designed ribbed pins (aka Pine tree fasteners). For a secure fit, simply set one of the squares onto the preinstalled fasteners.
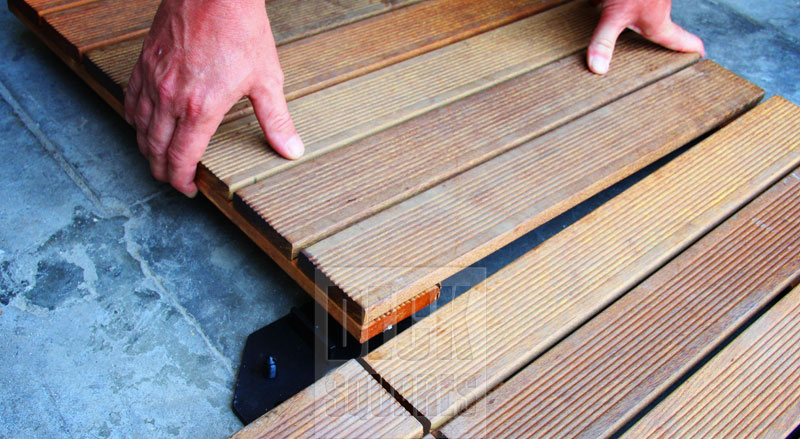
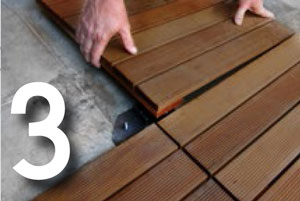 Once the first square is laid, you can proceed placing the other squares onto the remaining pins. The Deck Square Connector automatically sets the gap spacing to 3/8" so you won't have to worry about an uneven look.
 DeckWise® Deck Square Connectors simplify the deck square installation process plus you never have to worry about loose or uneven gaps between squares. The unique design of these deck square connectors provide the easiest installation method for wood-backed hardwood decking squares.